Website Backups: How to Back Up and Restore Your Site (Complete Guide)
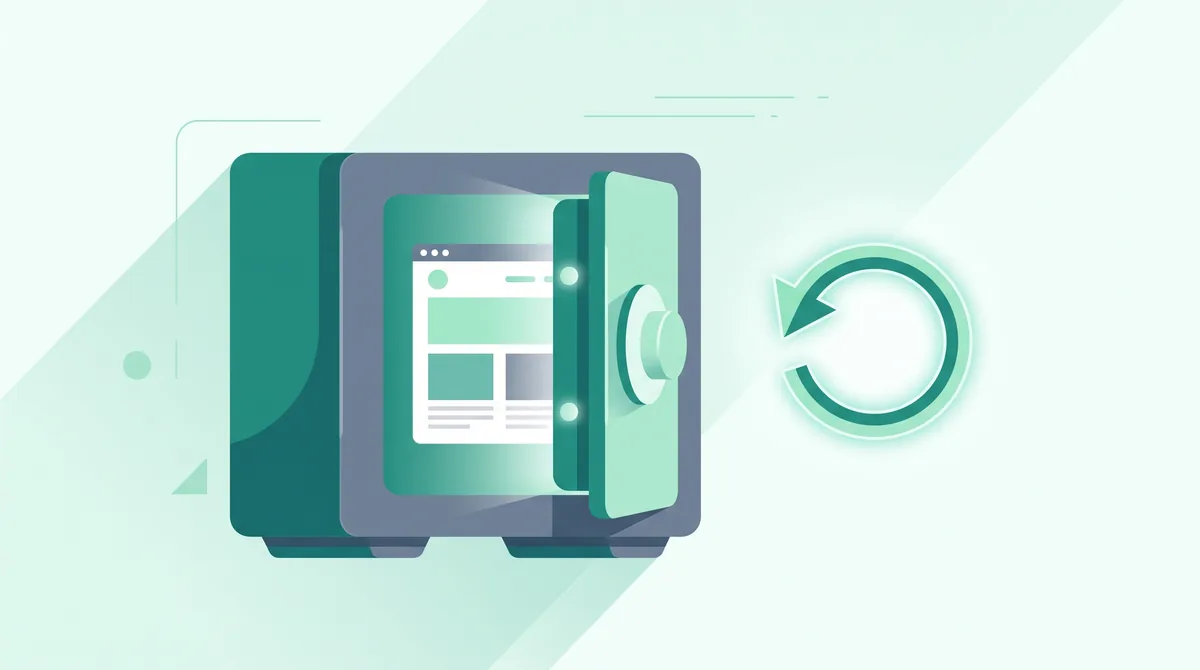
To back up a website, save two things together: all of your website files and your database. Do it with your host's backup tool, a backup plugin, or manually through a File Manager and phpMyAdmin. Then keep a recent copy off-site, and test that you can restore it.
Key takeaways
- A full backup needs both files and the database — files alone will not bring your site back, because your posts and settings live in the database.
- The easiest method is your host's automatic backups; a backup plugin adds scheduling and off-site storage; a manual backup gives you full control.
- Follow the 3-2-1 rule: keep 3 copies, on 2 kinds of storage, with at least 1 copy off-site.
- Always back up before any update, plugin change, theme edit, or migration — that is when things break.
- A backup you have never restored is only a guess. Test a restore so you know it works before you need it.
Why backups matter more than you think
A good backup turns a disaster into a five-minute chore. Think about the moments that catch site owners out: a plugin update breaks the layout, a theme edit takes the site down, a hacked site starts serving spam, a migration to a new host goes sideways, or one careless click deletes a page you spent hours on. In every one of those cases, the difference between a quick recovery and losing everything is whether you had a recent, working backup.
A backup is a saved copy of your website that you can put back if the live version is damaged, hacked, or lost. It is your undo button for the whole site. Without one, you are relying on memory and luck to rebuild content, settings, and design from scratch — and some of it may simply be gone.
This guide is for anyone who runs a website — especially a WordPress site — on shared, managed, or VPS hosting and wants a backup routine they can trust. It sits inside our Hosting Help Center, and it is the safety net behind almost every fix we recommend elsewhere. You do not need to be technical. You need a plan, and one habit: back up before you change anything.
What exactly do you need to back up?
A complete website backup has two halves, and you need both. Save only one and you cannot fully rebuild your site.
1. Your website files. These are everything stored on the server as files on disk: your theme, your plugins, your uploaded images and documents, and the core software that runs the site. On WordPress, the folder that matters most is wp-content, because it holds your themes, plugins, and the uploads folder with every image and media file you have ever added. The core WordPress files can be re-downloaded for free, but your wp-content is unique to you.
2. Your database. The database is a separate program running alongside your files, usually MySQL or MariaDB (a compatible replacement for MySQL that most hosts use). It stores the content you actually created: your posts, pages, categories, comments, users, menus, and most of your site's settings. Your theme controls how the site looks; the database holds what the site says.
Files alone are not enough. This is the single most common backup mistake. If you save your files but not the database, restoring gives you a working theme with no posts, no pages, and no settings — an empty shell. If you save the database but not your files, you have all your content but no theme or images to display it. A real backup always includes both, saved from the same moment in time.
Sites built on other platforms follow the same rule. A store on WooCommerce, a forum, or any content-managed site keeps its content in a database and its assets in files. If your site is plain HTML with no database, then your files are the whole backup — but the moment a database is involved, you need both halves.
Types of backups, explained
"Backup" is not one thing. A few simple choices decide how safe, how fast, and how much storage your backups use. Here are the pairs that matter.
| Choice | What it means | When it fits |
|---|---|---|
| Full vs incremental | A full backup copies everything each time. An incremental backup saves only what changed since the last one. | Full is simplest to restore. Incremental saves storage and runs faster on large sites. |
| Manual vs automatic | A manual backup is one you run yourself. An automatic backup runs on a schedule with no action from you. | Manual is fine before a one-off change. Automatic is what protects you day to day. |
| On-site vs off-site | An on-site backup is stored on the same server as your site. An off-site backup is stored somewhere separate, such as cloud storage. | On-site is convenient but shares the server's fate. Off-site survives a full server failure. |
The 3-2-1 rule ties these together. It is the standard that data professionals use, and it is easy to remember: keep 3 copies of your data, on 2 different types of storage, with at least 1 copy off-site. For a small website that can be as simple as: the live site, an automatic backup on your host, and a copy synced to cloud storage like Google Drive. If any single thing fails — a bad update, a dead server, a mistaken deletion — you still have a good copy somewhere else.
How to back up your website, step by step
There are three practical ways to back up a website. You do not have to pick only one — using your host's automatic backups and an off-site copy is a strong, simple setup. Start with whichever matches your comfort level.
Method 1 — Use your host's automatic backups (easiest)
Most hosting plans include automatic backups you can turn on and download from the control panel. This is the least work and a good baseline for everyone.
- Open your hosting control panel. Log in to your host and find the dashboard — usually hPanel or cPanel (the two most common hosting control panels).
- Find the Backups section. Look for "Backups," "Backup & Restore," or "Files > Backups." Open it to see what your plan already saves for you.
- Check the schedule and coverage. Confirm how often it runs (daily is ideal), how many past copies it keeps, and that it backs up both files and the database. If backups are off, switch them on.
- Download a copy now. Generate or download the latest backup to your own computer or cloud storage. A backup that only lives on the same host is not truly safe, so getting a copy off the server is the important part.
- Note where restores happen. Find the "Restore" button in the same panel so you know exactly where to go in an emergency.
Method 2 — Use a backup plugin (best for WordPress automation)
A backup plugin is software you add to WordPress that schedules backups and sends them to off-site storage automatically. Popular, well-supported options include UpdraftPlus, Jetpack VaultPress Backup, and Duplicator (which is also handy for migrations). This is the sweet spot for most WordPress owners: set it once, and off-site backups keep happening on their own.
- Install and activate the plugin. In your WordPress dashboard, go to Plugins > Add New, search for the plugin, install it, and activate it.
- Choose what to back up. In the plugin's settings, make sure it includes both your files (especially
wp-content) and your database. Most tools do both by default. - Set a schedule. Pick how often it runs — for example daily for the database and weekly for files, or daily for both on a busy site. Match the frequency to how often your site changes.
- Connect off-site storage. Link a remote destination such as Google Drive, Dropbox, or Amazon S3 so each backup is stored away from your server. This is what makes the plugin worth using.
- Run one backup manually and confirm it lands. Trigger a backup now, then check your connected storage to confirm the files actually arrived. Set the plugin to keep several past copies, not just the newest one.
Method 3 — Back up WordPress manually (full control)
A manual backup means downloading your files and exporting your database yourself. It needs no plugin, works on any host, and teaches you exactly what a backup contains. These are the steps mirrored in this page's how-to instructions.
- Connect to your website files. Open your host's File Manager, or connect with an FTP client such as FileZilla (FTP is a way to move files between your computer and the server).
- Download all of your files. Select your whole site folder — for WordPress this is everything in the root, and especially the
wp-contentfolder — and download it to your computer. Keep the folder structure intact. - Open phpMyAdmin. Back in your hosting control panel, open phpMyAdmin, the tool for managing your database.
- Select your site's database. In the left-hand list, click the database your site uses. If you are unsure which it is, the name is listed as
DB_NAMEin yourwp-config.phpfile. - Export the database. Click the Export tab, choose the Quick method and the SQL format, then click Go. This downloads a single
.sqlfile containing all your posts, pages, and settings. - Store both halves together, off-site. Put the downloaded files and the
.sqlfile in one dated folder, and upload it to cloud storage or an external drive. Label it with the date so you can find the right copy later.
How often should you back up? Match the frequency to how often your site changes. A shop or news site that updates daily needs daily backups; a brochure site that rarely changes can back up weekly. One rule applies to everyone: always run a fresh backup right before any update, plugin or theme change, or migration. Those are the exact moments sites break, and a backup from five minutes ago is the fastest possible fix.
How to restore your site from a backup
A backup is only half the job — restoring is what actually saves you. The right method depends on how you made the backup. Whenever possible, restore into a staging site (a private copy of your site) first, so you can check it before it goes live.
- Restore from your host's control panel. If the backup came from your host, open the Backups section, pick the date you want, and click Restore. The host puts your files and database back for you. This is the quickest route when it is available.
- Restore from a backup plugin. If you used a plugin like UpdraftPlus, open its panel, find the backup set for the date you need, and click Restore. Choose to restore both files and the database so the two halves match.
- Restore manually. If you have a manual backup, do the reverse of making one. Re-upload your files via File Manager or FTP, then open phpMyAdmin, select your database, click the Import tab, choose your
.sqlfile, and click Go to load your content back in. If the database already has old tables, drop them first so the import is clean. - Check the site and update links if needed. After restoring, load a few pages, log in, and confirm images and posts appear. If you restored to a different domain or host, you may need to update the site URL in settings.
Restoring a backup is often the real fix for a broken site. When a bad update or corrupted file leaves you staring at an "error establishing a database connection" or the blank WordPress white screen of death, rolling back to a clean backup is frequently the fastest and safest way to get running again — which is exactly why keeping recent backups matters so much.
Common backup mistakes to avoid
The most dangerous mistake is keeping backups only on the same server as your site. If that server fails, is hacked, or your account is suspended, your site and its only backup disappear together. At least one recent copy must live somewhere else — cloud storage, another host, or your own computer. An on-site-only backup is barely a backup at all.
Beyond that, these are the errors we see most often:
- Backing up files but not the database. The most common trap. You feel protected, but a restore would give you an empty shell with no posts or settings. Always save both halves.
- Never testing a restore. A backup that has never been restored is a guess, not a safety net. Corrupted or incomplete backups are common, and you do not want to discover that during an emergency. Test a restore at least once.
- Relying on a single copy. One backup that gets overwritten each night means that if today's backup captured a hacked or broken site, your only copy is now bad. Keep several dated versions so you can go back further.
- Assuming your host does it for you. Some plans include backups; some do not, some keep them only briefly, and some charge to restore. Confirm exactly what your plan saves, for how long, and how a restore works — before you need it.
- Forgetting to back up before changes. The riskiest moment is an update or edit. Skipping the "back up first" step is how a routine change becomes a lost weekend.
Build a backup routine you can trust
A reliable routine comes down to three habits. Set them up once and your site is protected without you thinking about it every day.
- Automate it. Turn on your host's automatic backups, add a backup plugin with a schedule, or both. Anything that depends on you remembering will eventually be forgotten. Match the frequency to how often your content changes.
- Store copies off-site. Send at least one recent copy away from your server — Google Drive, Dropbox, Amazon S3, or a local drive. This is the part of the 3-2-1 rule most people skip, and it is the part that saves you when a whole server dies.
- Test restores periodically. Every few months, restore a backup to a staging site and confirm it works. This proves your backups are real and keeps you fluent in the restore steps, so a crisis is calm instead of frantic.
One more habit ties it together: back up before every update, plugin or theme change, and migration. Automated daily backups plus a manual "back up first" click before risky changes covers nearly every way a site can break.
Frequently asked questions
How do I back up a WordPress site for free?
You have two free routes. First, check your hosting control panel — many plans include automatic backups you can download at no extra cost. Second, install a free backup plugin such as UpdraftPlus, connect it to free cloud storage like Google Drive or Dropbox, and set a schedule. You can also back up manually for free by downloading your files over FTP and exporting your database from phpMyAdmin.
What exactly needs backing up?
Two things, together: your website files and your database. The files include your theme, plugins, and uploaded images — on WordPress, that is mainly the wp-content folder. The database holds your posts, pages, comments, users, and settings. Saving only one half is the most common mistake, because files without the database restore to an empty shell, and the database without files has no theme to display it.
How often should I back up my website?
Match the frequency to how often your site changes. A site updated daily — a shop, a blog, a news site — should be backed up daily. A site that rarely changes can be backed up weekly or monthly. Regardless of schedule, always run a fresh backup right before any update, plugin or theme change, or migration, because those are the moments sites most often break.
Where should I store my backups?
Off-site, and in more than one place. Follow the 3-2-1 rule: three copies, on two types of storage, with at least one off-site. In practice that means not leaving your only backup on the same server as your site. Send a copy to cloud storage such as Google Drive, Dropbox, or Amazon S3, or keep one on your own computer, so a server failure cannot take your site and its backup at once.
How do I restore a WordPress site from a backup?
It depends on how you made it. From a host backup, open the Backups section, pick a date, and click Restore. From a plugin like UpdraftPlus, open its panel and restore the backup set, including both files and database. Manually, re-upload your files via FTP, then import your .sql file in phpMyAdmin under the Import tab. Restoring a clean backup is often the quickest fix for a hacked or broken site.
Are my host's backups enough on their own?
They are a good baseline but rarely enough by themselves. Host backups usually live on or near the same server, so they can be lost if that server fails or your account is suspended. Some plans also keep them only for a short time or charge to restore. Treat host backups as one copy in your 3-2-1 plan, and always keep at least one recent copy stored off-site as well.
Summary
Backing up a website is simple once you know the rules: save both your files and your database, use your host's automatic backups, a plugin, or a manual export, keep a recent copy off-site under the 3-2-1 rule, and test that you can actually restore it. Above all, back up before every update or change. Do that, and a bad update, a hack, or a fat-fingered edit becomes a five-minute restore instead of a lost site. Next, if you are here because something is already broken, our guide to common server errors will help you identify the problem and decide whether a restore is the fix.
When built-in backups are worth having. If your current plan does not include reliable, automatic daily backups — or if you have already lost data once and never want to feel that again — moving to a host that runs automated backups for you removes both the manual burden and the risk of forgetting. That is a genuine reason to choose one host over another: the backups happen on their own, and a restore is a click away. Hostinger is one example whose plans include automatic backups; compare what it offers against what your current plan actually saves and how restores work. If valid at checkout, new users may be able to apply a code such as SPECIAL15 or SPECIAL10, subject to Hostinger's terms. If your existing plan already backs up reliably and stores copies off-site, you do not need to change anything.
Affiliate disclosure: if you sign up through this link we may earn a commission, at no extra cost to you. How this works.
References
- WordPress.org — "WordPress Backups" (official documentation on files, database, and backup methods).
- WordPress.org — "Backing Up Your Database" (phpMyAdmin export guide).
- phpMyAdmin — official documentation on Export and Import.
- US-CERT / CISA — data backup guidance and the 3-2-1 backup principle.