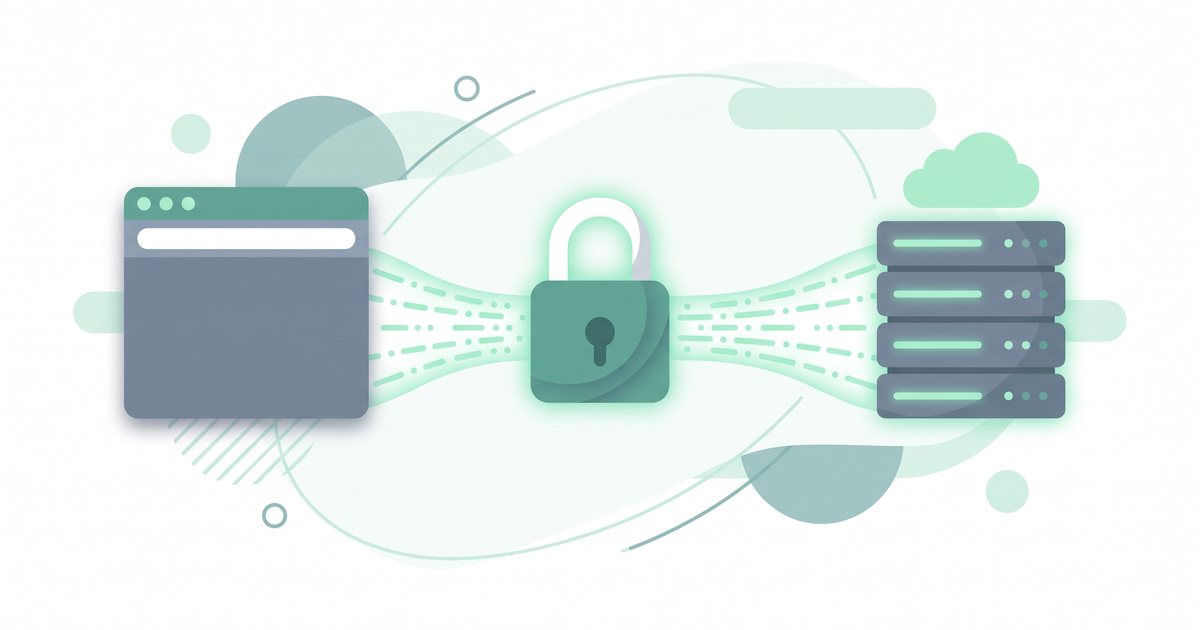
The easiest way to install an SSL certificate is to enable the free SSL your web host already offers. Log in to your hosting panel, open the SSL or Security section, pick your domain, and turn on free SSL or AutoSSL. It issues in minutes, and most hosts renew it for you automatically.
Key takeaways
- An SSL certificate is a small file that lets your site load over HTTPS, encrypting the connection and showing the padlock in the browser.
- Most people never need to buy one. Free SSL from your host, Let's Encrypt, or Cloudflare covers the vast majority of websites.
- Enabling SSL is only half the job. You also have to force HTTPS so visitors always land on the secure version.
- After switching, fix any mixed content warnings and confirm auto-renewal so the certificate never expires.
Disclosure: Some links on this page are affiliate links. If you sign up through them, we may earn a commission at no extra cost to you. We only recommend what genuinely helps with the topic this page covers, and our guidance stays the same either way.
Your options at a glance
Before you touch any settings, it helps to know how people actually get a certificate. If you want the full background on what these certificates do, read what an SSL certificate is first. Otherwise, here are your four routes, from easiest to most involved.
| Option | Cost | Best for | Effort |
|---|
| Free SSL included by your host | Free | Almost everyone (most common) | Lowest — a few clicks |
| Free Let's Encrypt via your panel | Free | Hosts that expose a Let's Encrypt tool | Low |
| Free via Cloudflare (edge certificate) | Free | Sites already using or adding Cloudflare | Low to medium |
| Paid certificate from a Certificate Authority | Paid | Businesses needing OV/EV validation | Higher |
A Certificate Authority (CA) is the trusted organization that issues and signs certificates so browsers accept them. Free options like Let's Encrypt are issued by a CA too, so they are just as secure as paid ones for encryption. The main reason to pay is a higher validation level, which we cover in method 4.
Not sure which one to pick? If your host offers free SSL, use it. It is the simplest, it renews on its own, and it works for standard websites, blogs, and stores.
Method 1: Install a free SSL certificate from your host (easiest)
This is the route we recommend for most readers. Nearly every modern host includes free SSL and turns on AutoSSL, a feature that issues and renews the certificate automatically. Follow these steps in your hosting panel (hPanel on Hostinger, or cPanel on many other hosts).
- Log in to your hosting panel, such as
hPanel or cPanel.
- Find the SSL/TLS or Security section in the dashboard menu.
- Select your domain and click Enable free SSL or turn on
AutoSSL.
- Wait a few minutes for the certificate to issue. The status will change to Active.
- Confirm that auto-renewal is switched on so the certificate never expires.
That is it. Once the status reads Active, your domain can load over HTTPS. You still need to force HTTPS so visitors always use it, which we cover below.
If you do not see a free SSL option, check your host's help docs or support chat. Some hosts issue it automatically the first time your domain points to their servers, so it may already be active.
Method 2: Let's Encrypt through your panel
Let's Encrypt is a free, automated Certificate Authority trusted by every major browser. Many hosts expose it directly through a tool in the panel, so you rarely have to touch the command line.
- Open the SSL/TLS section and look for a
Let's Encrypt or AutoSSL tool.
- Select the domain (and any subdomains) you want to secure.
- Click Issue and wait for the certificate to install.
Let's Encrypt certificates last 90 days by design, but the panel tool renews them automatically well before they expire. You do not have to renew by hand as long as the tool stays enabled.
Method 3: Free SSL through Cloudflare
Cloudflare sits in front of your site and can provide a free edge certificate, which secures the connection between your visitors and Cloudflare's network. This is a good fit if you already use Cloudflare or want its speed and protection features.
- Create a Cloudflare account and add your site, then update your domain's nameservers as Cloudflare instructs.
- In the Cloudflare dashboard, open SSL/TLS and set the mode to
Full.
- Wait for Cloudflare to activate the edge certificate. Your site then loads over HTTPS.
Set the mode to Full, not Flexible. Flexible leaves the link between Cloudflare and your server unencrypted, which can cause redirect loops and weaker security. For the strongest setup, install a certificate on your host too and use Full (strict).
Method 4: Buy a paid certificate from a Certificate Authority
Most sites do not need this. You would choose a paid certificate when you want Organization Validation (OV) or Extended Validation (EV), where the CA verifies that a real business is behind the domain. Large stores and financial or corporate sites sometimes prefer this extra layer of vetting.
- In your hosting panel, generate a CSR (Certificate Signing Request), a small text block that contains your domain and public key. Save the private key it creates.
- Buy the certificate from a Certificate Authority or reseller and paste in your
CSR.
- Complete the CA's validation steps, which may include email, DNS, or business document checks.
- Download the issued certificate, then install the certificate and private key in your panel's SSL/TLS section.
The encryption strength is the same as a free certificate. You are paying for the validation level and support, not stronger security. If you only need the padlock and HTTPS, a free option does the job.
Force HTTPS across your whole site
Installing a certificate does not automatically move visitors to the secure address. Someone can still open the old http:// version. To fix that, you force HTTPS, which redirects all HTTP traffic to HTTPS. Pick whichever of these matches your setup.
- Panel toggle: many hosts have a one-click
Force HTTPS option right next to the SSL settings. Turn it on and you are done.
- .htaccess redirect: on an Apache server, add a redirect rule to the top of your
.htaccess file so every request is sent to the HTTPS version.
- WordPress: in Settings > General, set both the
Site Address and WordPress Address to your https:// URL, then use a redirect plugin to catch anything left over. New to WordPress? Our guide to installing WordPress walks through the dashboard.
Finally, update your internal links so they point to the HTTPS version. Old links that still use http:// can trigger warnings, which brings us to the next step.
Verify that it works
Once HTTPS is forced, confirm everything is healthy:
- Visit your site and look for the padlock icon in the browser address bar. No padlock, or a warning triangle, means something still needs attention.
- Run a free SSL checker tool. It confirms the certificate is valid, correctly installed, and covers your domain.
- Check for mixed content, which happens when a secure page still loads an image, script, or stylesheet over insecure HTTP. If you see a warning, our guide to fixing mixed content warnings shows exactly how to clear it.
- Confirm auto-renewal is on so the certificate refreshes before it expires.
When the padlock shows, the SSL checker passes, and there are no mixed content warnings, your site is fully on HTTPS.
Common mistakes to avoid
The biggest mistake: installing the certificate but never forcing HTTPS. Your site works over both http:// and https://, visitors land on the insecure version, and you get none of the trust or ranking benefit. Always turn on force HTTPS after installing.
- Forgetting to renew a manual certificate. If you installed a certificate by hand without auto-renewal, it will expire and browsers will show a scary warning. Set a reminder or, better, use a method that renews on its own.
- Ignoring mixed content. A single image loaded over HTTP can strip the padlock from an otherwise secure page. Fix these instead of leaving them.
- Paying when you did not need to. If you only want the padlock and HTTPS, a free certificate is identical in strength. Save the paid option for when you genuinely need OV or EV validation.
- Choosing Cloudflare's Flexible mode. As noted above, it leaves part of the connection unencrypted. Use Full instead.
Frequently asked questions
How do I get an SSL certificate for free?
Enable the free SSL your host already includes, use a Let's Encrypt tool in your hosting panel, or add your site to Cloudflare for a free edge certificate. All three are trusted by browsers and cost nothing. For most sites, the host's built-in free SSL is the quickest route.
How do I install SSL on WordPress?
First enable free SSL in your hosting panel. Then in WordPress, open Settings > General and set both the Site Address and WordPress Address to your https:// URL. Add a redirect plugin to force HTTPS, then fix any mixed content warnings so every page loads securely.
Do I need to renew my SSL certificate?
Yes, certificates expire, but you usually do not have to renew them by hand. Host-provided SSL, AutoSSL, and Let's Encrypt panel tools renew automatically before the expiry date. Only manually installed certificates need a manual renewal, so confirm auto-renewal is switched on.
Is Let's Encrypt safe to use?
Yes. Let's Encrypt is a widely trusted, non-profit Certificate Authority recognized by every major browser. Its certificates use the same encryption strength as paid ones. The only practical difference is that it offers domain validation, not the organization or extended validation that some businesses want.
How do I force my site to use HTTPS?
Use your host's one-click Force HTTPS toggle if it has one. On Apache, add a redirect rule to your .htaccess file. On WordPress, set your site URLs to https:// and use a redirect plugin. Then update internal links so nothing points to the old HTTP address.
Is free SSL as secure as a paid certificate?
For encryption, yes. A free certificate and a paid one protect the connection identically and both show the padlock. Paid certificates add a higher validation level, where the Certificate Authority verifies your organization. That vetting is the difference, not the security of the encrypted connection.
Why does my site still show "Not Secure" after installing SSL?
Usually one of two reasons: you have not forced HTTPS, so the page still loads over HTTP, or the page has mixed content pulling in insecure files. Turn on force HTTPS, then find and fix the HTTP resources. The padlock returns once every element loads securely.
Summary
Getting your site onto HTTPS comes down to four steps: pick a source for the certificate, install it, force HTTPS site-wide, and verify the padlock. For most people the whole job takes minutes because their host offers free SSL that installs and renews on its own. Only reach for a paid certificate when you genuinely need organization or extended validation. Once you are secure, tie up the loose ends by working through our website security guide to harden the rest of your site.
If you are setting up a new site and want to skip the manual steps entirely, the simplest route is a host that provisions and auto-renews a free SSL certificate for you, so it never expires and you never have to install anything by hand. Providers like Hostinger include free SSL and turn it on automatically, which removes most of the work in this guide. If valid at the time of purchase, new users may also be able to apply a coupon such as SPECIAL15 or SPECIAL10, subject to Hostinger's terms.
Compare Hostinger plans →
Affiliate disclosure: if you sign up through this link we may earn a commission, at no extra cost to you. How this works.
References
- Let's Encrypt official documentation — how certificates are issued and renewed.
- Cloudflare SSL/TLS documentation — edge certificates and encryption modes.
- Mozilla Developer Network — HTTPS, mixed content, and browser security indicators.